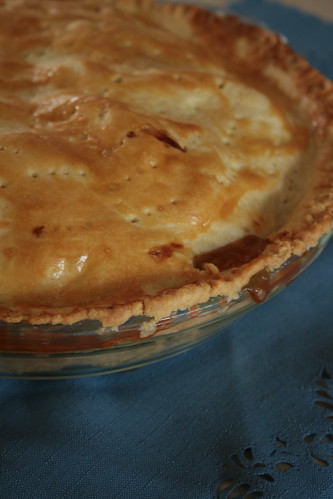
Don't know whether it is the weather (I love the rain but to wake up to a grey and gloomy sky early in the morning...) or the time of the year (nearing the end of year...) that I am feeling so melancholy (can't resist using this nice sounding but sad meaning word). It is time for a sweet fix. Looked through my new cook book The Sweet Comfort Food but couldn't decide what to try out until Bryan asked ' Can we have an apple pie?' That hit all the right cords! My ultimate comfort food (well, second only to chocolaty desserts). Apple pie it is.

It has been a long while since I last made an apple pie but fear not, I have this recipe which has been through many ups and downs with me over the years and it has never fail to deliver.
Why deluxe? You might ask. Well, I figured since I am going to indulge I might as well do it in a grand scale and pack in as many of my favourite things in life as possible.
Deluxe apple pie
For the filling
6-7 small cooking apples, peeled, cored and sliced thinly
130 g brown sugar
3 tablespoon flour
1/2 teaspoon ground cinnamon
1/2 cup raisin, washed and drained
1/2 cup walnuts or any nuts you fancy, washed, lightly toasted and crushed coarsely
Mix sugar, flour and cinnamon together well.
For the pastry
350 g all purpose flour, sifted
175 g butter, unsalted and diced
pinch of salt
~ 5 tablespoon chilled water or 1 beaten egg mixed with some chilled water
Combine the flour, salt and butter into a mixture that resembles breadcrumbs.
Sprinkle in the water (or egg if use for a richer pastry) tablespoon by tablespoon and mix until the crumbs gather together to form a soft (but not wet) dough.
Put in a container, cover and chill in fridge for at least 30 minutes (can be kept up to three days in the fridge).
Preheat oven to 200C/400F.
Roll out just slightly more than half the pastry on to a plastic sheet to about 27 cm in diameter. Work the pastry lightly and quickly. Over-handled pastry will yield a hard crust. The plastic sheet make it easier to transfer the rolled pastry to line the pie dish (about 23 cm). Allow the pastry to overhang the edge slightly.Dip the apple slices into the sugar/flour mixture before arranging them over the lined dish. Sprinkle raisins and nuts generously in between the apple layers.
Dot filling with butter.
Roll out the rest of the pastry to form the lid.
Place the lid over the apple filling and press gently to seal.
Trim the edges of pie; use a fork and press on the edges to make markings.
Brush the top of pie with egg wash.
Prick the lid with the fork to make small vents for the steam to escape.
Place pie at the lowest level in the oven for 20 minutes (that ensures a crusty bottom, never fail).
Lower oven temperature to 180C/350F and bake for a further 30 minutes until the pastry is golden and the apple filling oozing out of the vents.
Serve hot or cold with or without cream or ice cream.
The children like it hot with vanilla ice-cream...

I like it just the way it is - hot or cold.
After having this piece of heaven, I felt like what my mum would aptly described in one Chinese verse - 'Tian diao xia lai, dang bei gai' - translated as 'sky falls down, use it as a blanket for cover'. Hah, come what may and I shall overcome...Definite sign of sugar overdosed! That explained why I am still wide awake at this unearthly hour. How am I going to wake up at 5.30 am to get Leanne ready for school?!?! Maybe I'll just stay awake till then...Meantime, maybe I'll have another piece of pie with a nice cuppa Earl Grey, care to join me?
Good night and good day!
Jo

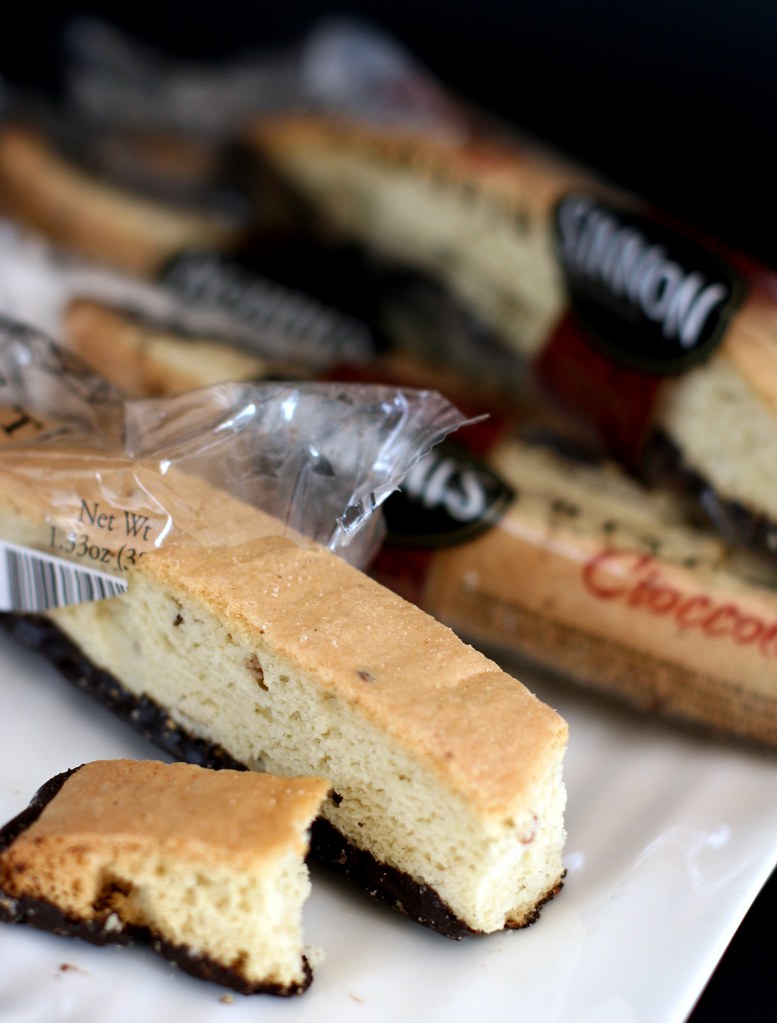 Got these from Mee Fung when K came back from the States. I turned pink when I remembered the first time I had biscotti in Rome and how, I wondered aloud to K, a nation that has such fine food came up with a biscuit that is so hard and dry, the almonds although tasty compounded to the rocky texture.
 So here I made myself a black coffee as thick as can be (gau gau) with a dollop of this...
  ...coffee layered liqueur. Perfect day.
 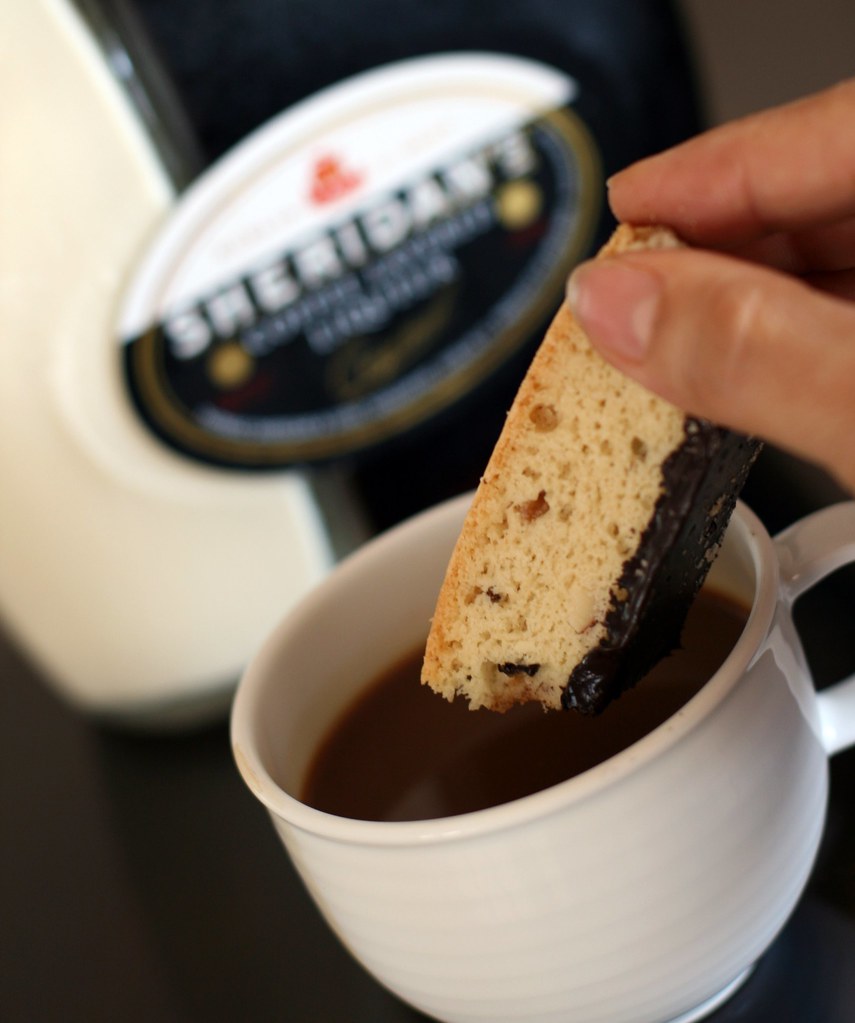 So here I made myself a black coffee as thick as can be (gau gau) with a dollop of this...
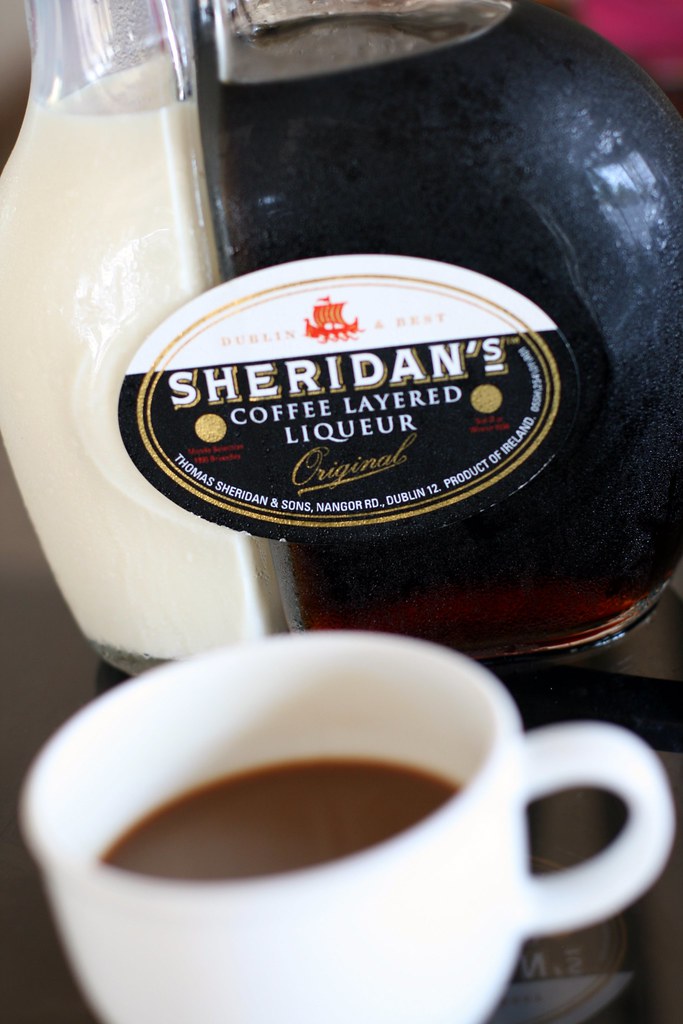 ...coffee layered liqueur. Perfect day.

 Jo
Jo