Showing posts with label vegetables. Show all posts

Monday, April 27, 2009

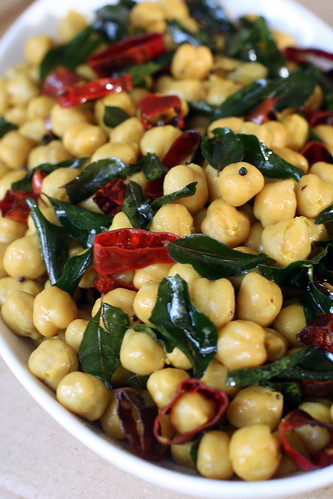
Spicy Chickpeas


I love chickpeas and that love affair started long time ago during our stay in KL. II would wait patiently for one particular vendor on bicycle in the afternoons who came around our housing area with this steaming snack. He would scooped a cup of these into a cone cup he made with a piece of brown oiled paper and that could be exchanged with a mere 50 cent. The aroma and flavors from these goodies stayed with me for years. During a Yoko farm outing last year, Margaret came with a dish that brought such nostalgic feel I had to get the recipe from her. Like a kind soul that she is, she explained the entire process and I quickly scribbled on the back of a supermarket receipt (I kept all these bits and pieces solely for these purposes as I tend to forget easily).

Very few ingredients needed and measurements are not crucial. A handful of curry leaves, 1 tablespoon or so of mustard seeds and as many or as few dried chillies as you like for 500g of dried chickpeas.

To prepare the dried chickpeas:

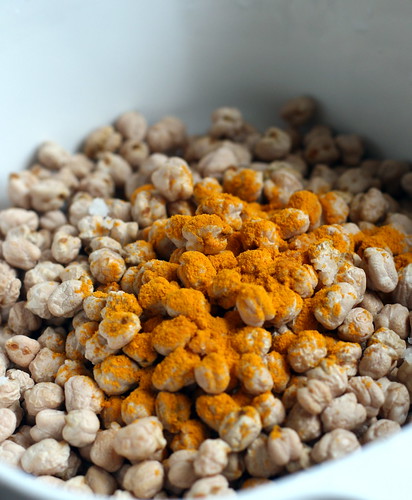
Rinse the legumes well in a colander off dirt and grit, pick out bad peas and small pebbles. Transfer into a bowl and add 1 teaspoon of turmeric (kunyit) powder and 1 teaspoon salt.
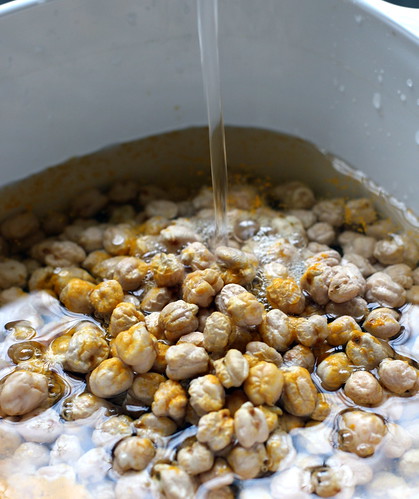
Cover with plenty of water and let soak for 6 hours or overnight.

Soak them, the legumes expand, boil them in the soaking water (I did mine in a pressure cooker for 10 minutes, cooking without pressure would take slow simmering for an hour or two) and they expand further. 

Spicy Chickpeas
500 g cooked chickpeas
3 - 5 dried chillies, wash, snip into thin rings with scissors and discard seeds 
1 T mustard seeds
1/2 cup curry leaves, roughly chopped
1/2 t turmeric powder
salt to taste
1 t chili powder, optional 
2 T oil

Heat wok and 2 T oil, fry dried chili on medium heat until fragrant (do not burn as they will taste bitter). Drain and put aside.
Fry the curry leaves until fragrant, drain and keep aside.
Fry mustard until fragrant and drain. 
Leave 1/2 tablespoon of the oil in wok, add the turmeric powder and chili powder (if use). Return all the fried ingredients and peas into the wok and mix well. Season to taste.
Serve as side dish or munch on during American Idol.

Thursday, April 9, 2009

Radish Kimchi

Radish Kimchi

Daniel gave us this bottle of cincalok he made himself and the 'scent' that wisps out is oooh soooo potent. Must get the recipe from him. Whenever we open the lid, never failed, all the flies from the neighborhood come zooming in. 
What is the first thing that come to mind when that familiar aroma hits the nasal sensory? KIMCHI!! This is perfect for kimchi making. 

I was flipping through this new edition of Flavours on board the flight from KL to KK recently and it was featuring none other than Korean cuisine! Needless to say, found many kimchi recipes staring at me. These kimchi recipes looked so intriguing as they call for apple and pear alongside the usual pickling ingredients. I decided to go with the radish kimchi according to the recipe in the magazine and found this a true keeper. The fruits imparted a slight hint of refreshing sweetness to the otherwise intense dish. The kimchi turned out perfect in every way - crunchy, spicy, pungency and all things kimchi.
Here is the recipe...

Radish Kimchi
2 kg radish, peeled, diced into 2cm cubes
2 T coarse sea salt

Kimchi  pickling paste
100g chilli flakes
10 fresh chillies*, seeded and diced
1 brown onion, peeled and diced
1 pear, peeled, cored and diced
1 apple, peeled, cored and diced
3 T cooked rice
50 g ginger, peeled and sliced
1 bulb garlic*
3 T fish sauce
2 T cincalok or Korean brined baby shrimps
sugar and salt to taste
* Optional. The recipe for this radish kimchi has no garlic, I added them because we love the garlicky taste.  

1. Marinate radish with the 2 tablespoon of salt for at least 2 hours. Rinse salt off radish thoroughly and drain well.
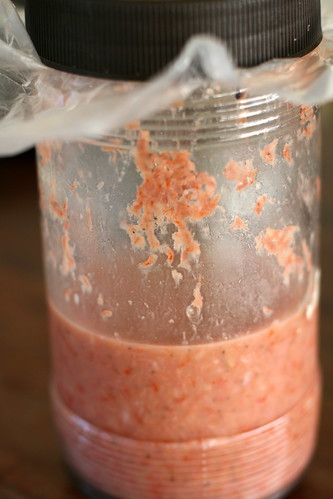
2. Blitz chilli flakes, fresh chillies, onion, pear, apple, rice and ginger to a fine paste. Add the fish sauce, cincalok, sugar and salt. Mix well.
3. Mix the paste into the radish well and store in clean glass bottles. 
4. Leave to ferment for a day and it is ready to serve. Can be kept in fridge for weeks (if they get to last that long). 

Tuesday, March 10, 2009

Sawi Korean Style

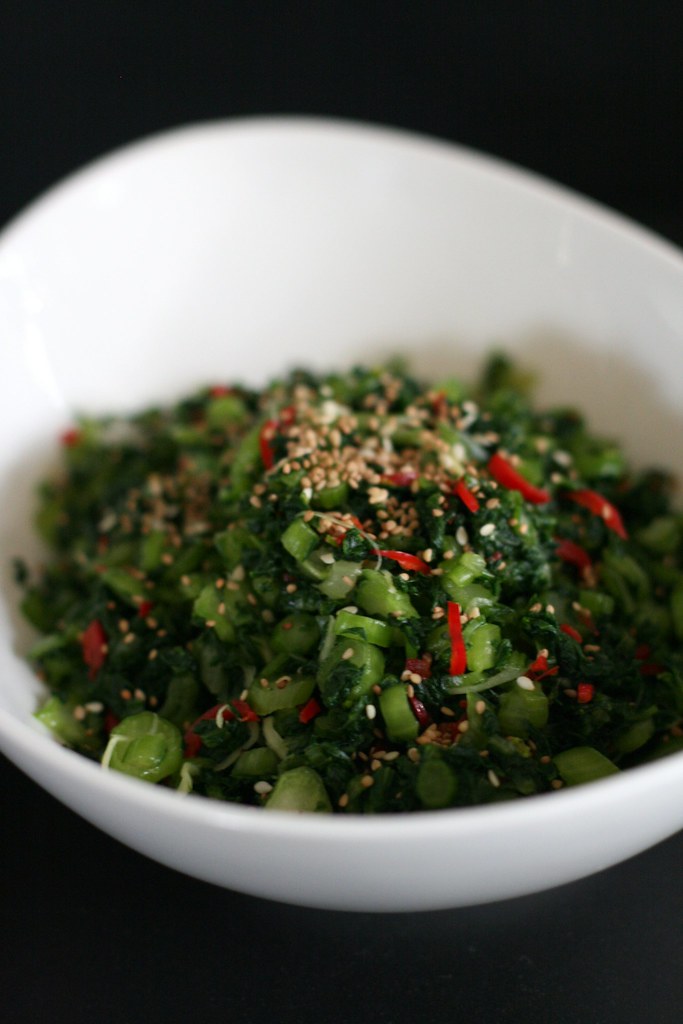
Koreans do pickles as much as the Chinese and the Japanese. Similar yet with distinct differences. This dish is not quite a pickle, more a salad, I think. It reflects Korea's cuisine - rugged, simple, unpretentious and no fuss and frills. The good thing about this dish is it can be eaten as soon as it is prepared, no need to wait for days like the Korean kimchi.

Pickled mustard greens
300g mustard greens aka sawi aka sayur bunga
1 fresh red chilli
2 thin slices ginger, julienned
2 cloves garlics, peeled and chopped
salt
vinegar
sugar
sesame seeds, toasted
sesame oil

Wash the leaves off all grit and dirt. Use drinking water in the last rinse, drain and pat dry.
Gather in a bunch and chop them into about 1/2 cm bits.
Use about 1 teaspoon of salt, rub into the veggie until they turn deep green and sweat. Leave for about 30 minutes. 
Wash the salted sawi, drain and squeeze out as much of the moisture as possible.
Add the rest of the ingredients, adjust sugar and vinegar to suit one's taste. 
Drizzle a teaspoon of sesame oil. Mix well.
Best served chilled and with a sprinkling of toasted sesame seeds. 

Tuesday, February 17, 2009

Yong Tofu

I grew up with traditional Hakka food and to me yong tofu is just that -  stuffed beancurd with mince meat (most times of pork but fish is more popular now for health reasons I suppose). I only learnt to eat all the different types of stuffed veggies when we were stationed in KL years ago. 

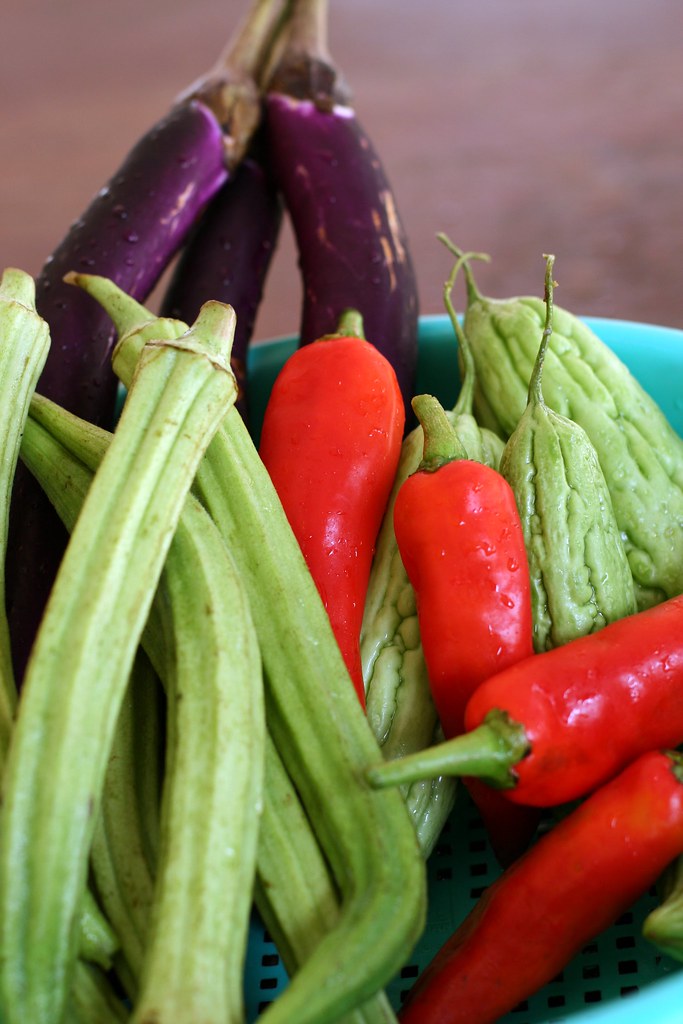
Mui Fong has taken on the task of marketing for me these days. She reckons home-grown veggies without pesticides and chemicals are easier to find in Tamparuli. These are some of the very fresh veggies she brought over, a few of each. 

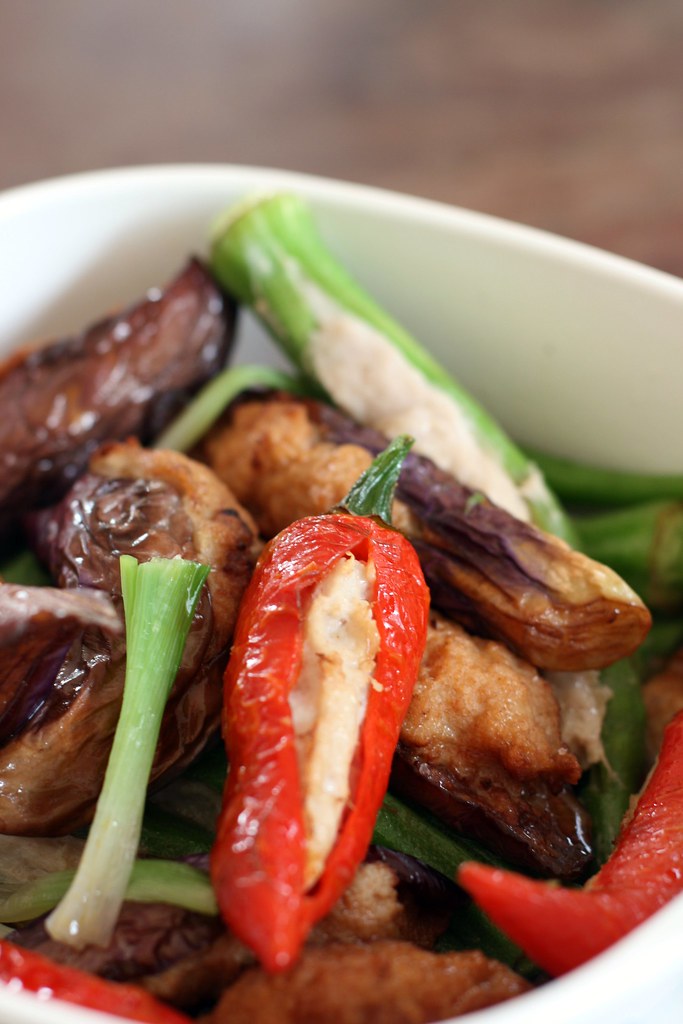
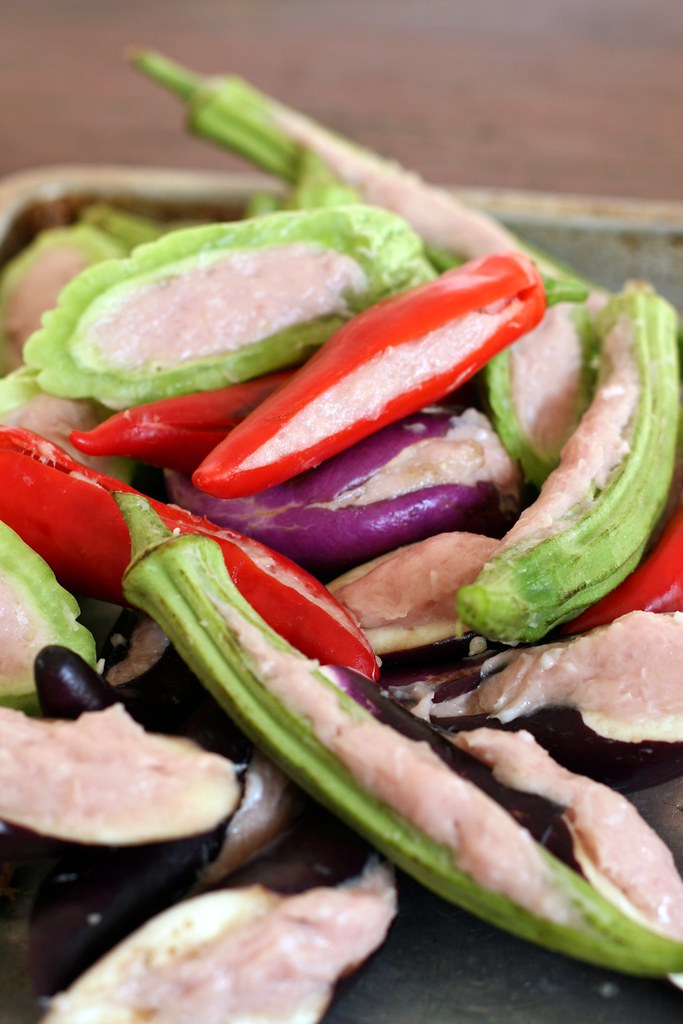
So, to make a feast out of them, I sliced, slit and stuffed them...

The yong tofu without the tofu
 
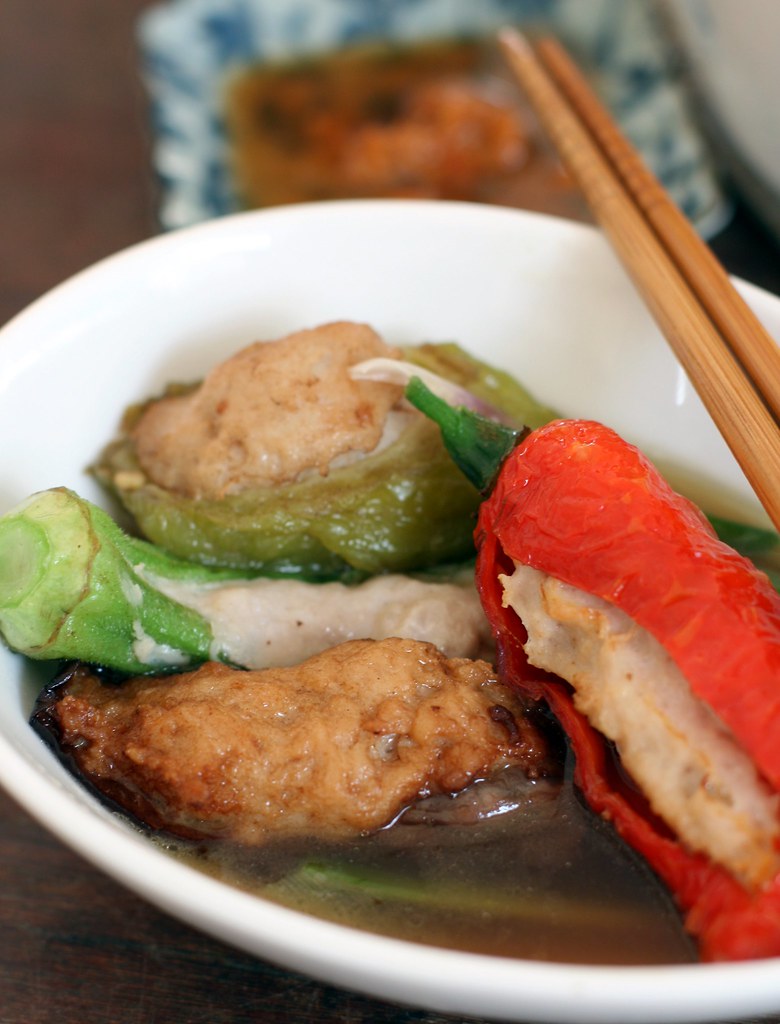
I like to cook this dish as a one-pot-meal and the veggies go down easier for the young ones.
I was lazy so I bought two packets of minced pork from the Lido market, minced some fish flesh (about 300g) and mixed it into the pork. 
Stuff the veggies. 
Deep fry the stuffed eggplants, bitter gourd and chillies to brown, not to cook them but just to make them more attractive to the young ones. Drain and keep aside.
Fry some chopped shallots and garlic with a tablespoon of oil until fragrant. Set some aside for garnishing (which I forgot).
Add  a tablespoon of oyster sauce into the same wok.
Before the mixture burns add in 2 - 3 cups of stock (use the remaining fish bones to make stock or just boil some ikan billis or bonito flakes in water for 10 minutes, strain and use the stock). 
When boiling, place bitter gourd in first as they will take the longest to cook (omit this if some members of family don't eat this veggie), then chillies, egg plant and then lastly the lady fingers.
Cook until the stuffing turns color and the veggies slightly soft.
Thicken the gravy with 1t cornflour + 1T water. For a soupy dish, omit the thickening, just add more stock, season to taste.
Eat with a chilli/lime/garlic/soy dipping sauce.
My favorite from this selection has to be the stuffed red chilli (do deseed them before stuffing).

Monday, October 13, 2008

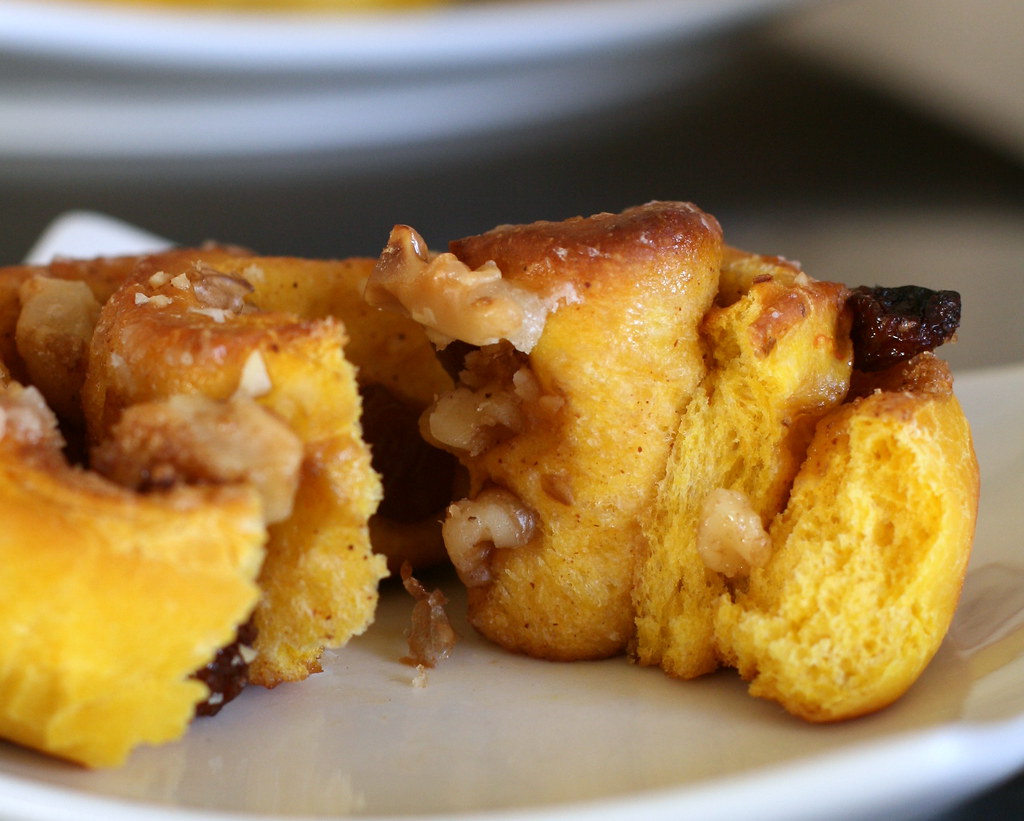
Pumpkin Chelsea Buns

The title might differ but this recipe is inspired by the blog, Ganache-ganache, of a young lady who makes amazing cakes and pastry and best of all, takes order for them.
This is her pumpkin buns recipe which I adapted and had a blast with.
I like the look of this recipe because it seems easy. Another reason is also I love playing with yeast dough. I know I can save time and energy using the dough mixer but most times I still prefer using my hands (easier to gauge the moisture of the dough too). It is like playing with my daughter's Play-Doh but better as it comes alive and double in size. And that yeasty scent when the dough comes alive can be very intoxicating not to mention the heavenly aroma when the goodies are in the oven baking...
As usual I tend to improvise whenever I am lacking in some ingredients and always tweak the recipe to accommodate some fussy palates but basically it follows pretty closely to the original recipe except for the sugar part. 
Her is sugar free but mine here is definitely not. 
I didn't have any honey so I used sugar and I like the idea of filling and a glaze. I was actually toying with the idea of a pumpkin cum gaya jam for a filling but the chelsea buns won . So I went crazy with butter, sugar, raisins and nuts for the filling, didn't I tell you I had fun? Definitely not for people on diet... 

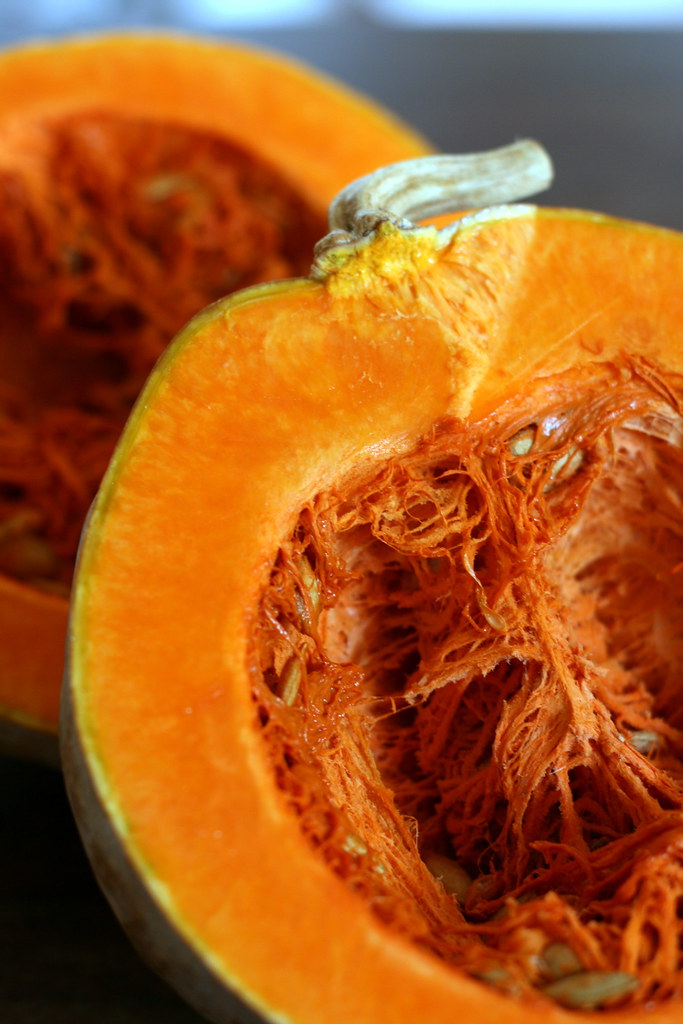
My sister, Mui gave me this big pumpkin which had been sitting in the kitchen for weeks. Not wanting to cut it open as I know I had to have enough ways to cook it up fast. 

I still have half left even after using some to cook in Terri's style (see how red the pumpkin flesh is) and my usual balsamic glazed.
Following ganache's advice I peeled, steamed and freeze the remainder for future use. 

Click here for Ganache-ganache's original sugar-free pumpkin buns.
I halved the recipe as half the household is not in town.

Pumpkin Chelsea Buns
Dough:
300g bread flour
150g pumpkin puree (peeled, steamed, mashed or blended)
40g castor sugar
75 - 80 ml milk (depends on the moisture content of the pumpkin puree)
1 t salt
1 t instant yeast
40g butter, softened

Mix the flour and salt in a large bowl, rub in the butter and stir in the sugar and yeast.
Add in the milk and mix well into a firm dough.
Turn the dough out on a flour surface and knead (my favorite part) for 10 minutes or so until smooth and elastic. 
 
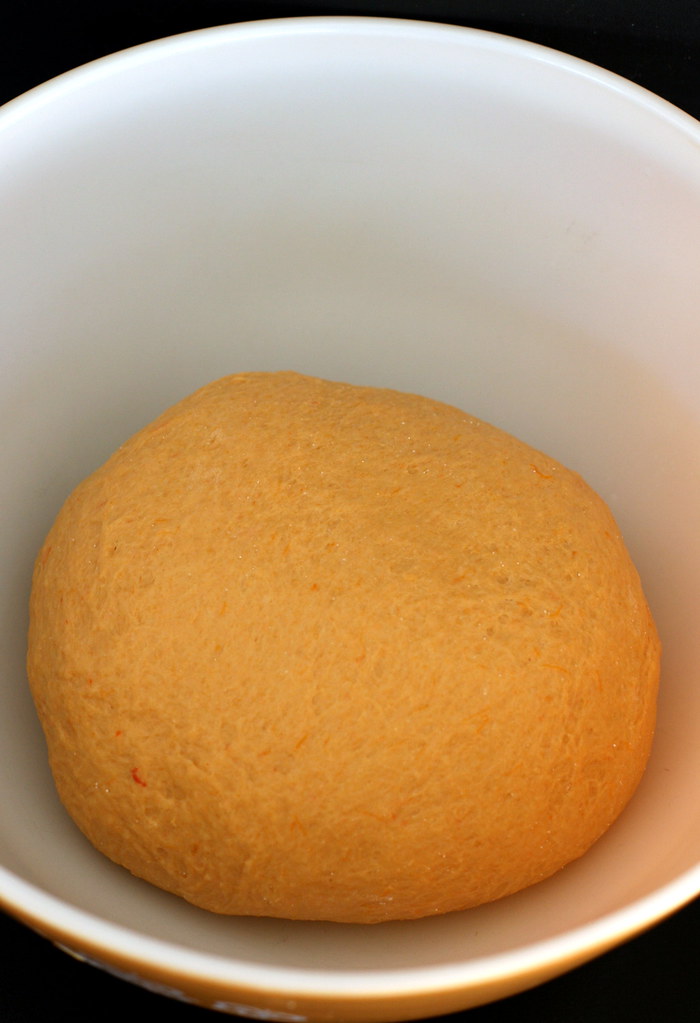
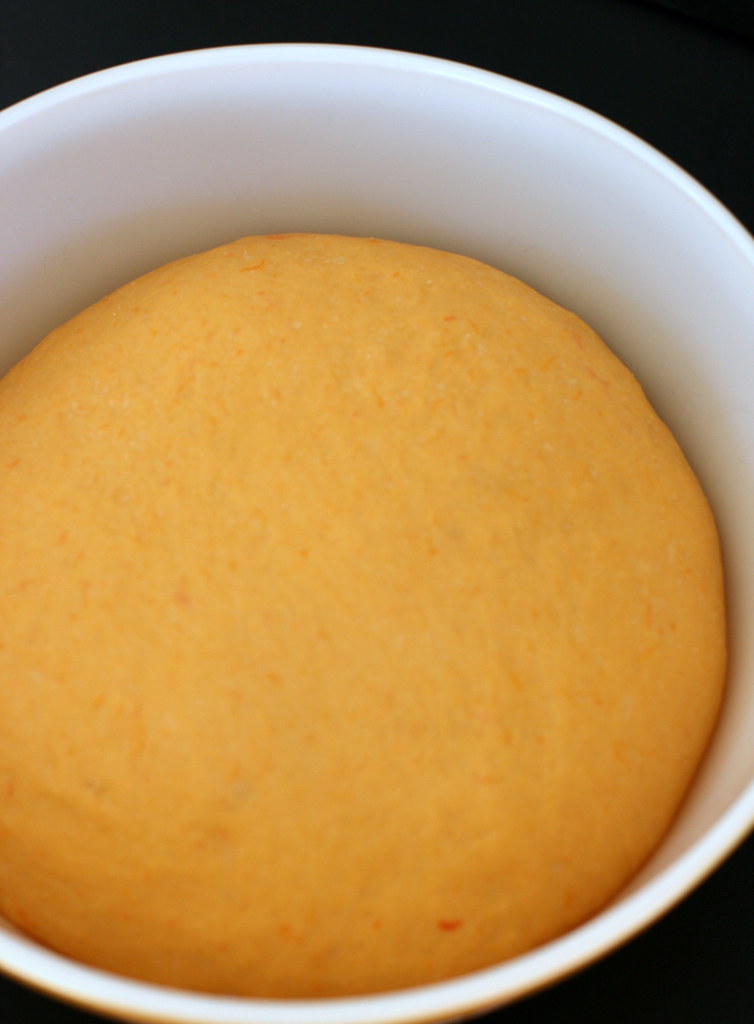
When that is achieved, return it to a floured bowl, cover with a tea towel and leave it in a warm corner for 30 minutes or until the dough doubled in size.

Like this... when the yeasty fragrance is most pronounced and it looks like it is alive.

At this stage, turn out the dough on to a floured surface and knock or punch it down.

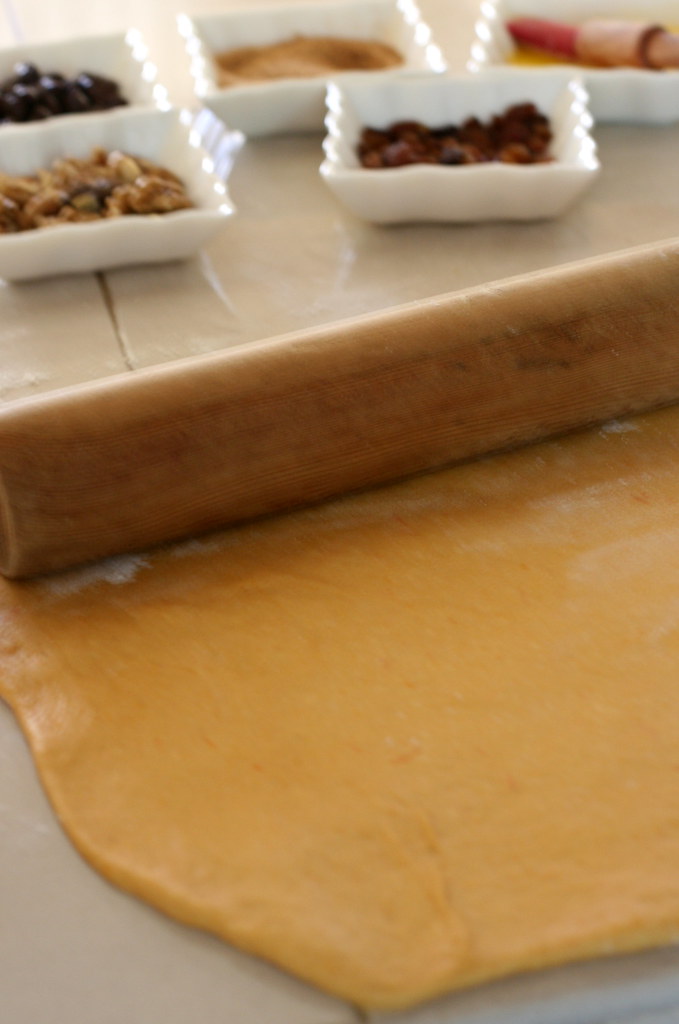
Roll out the dough into a square of about 30 cm.

Filling:
1T melted butter
1T brown sugar mix with 1t ground cinnamon
40g raisins (or chocolate chips as Bryan requested)
40g walnuts (coarsely chopped)

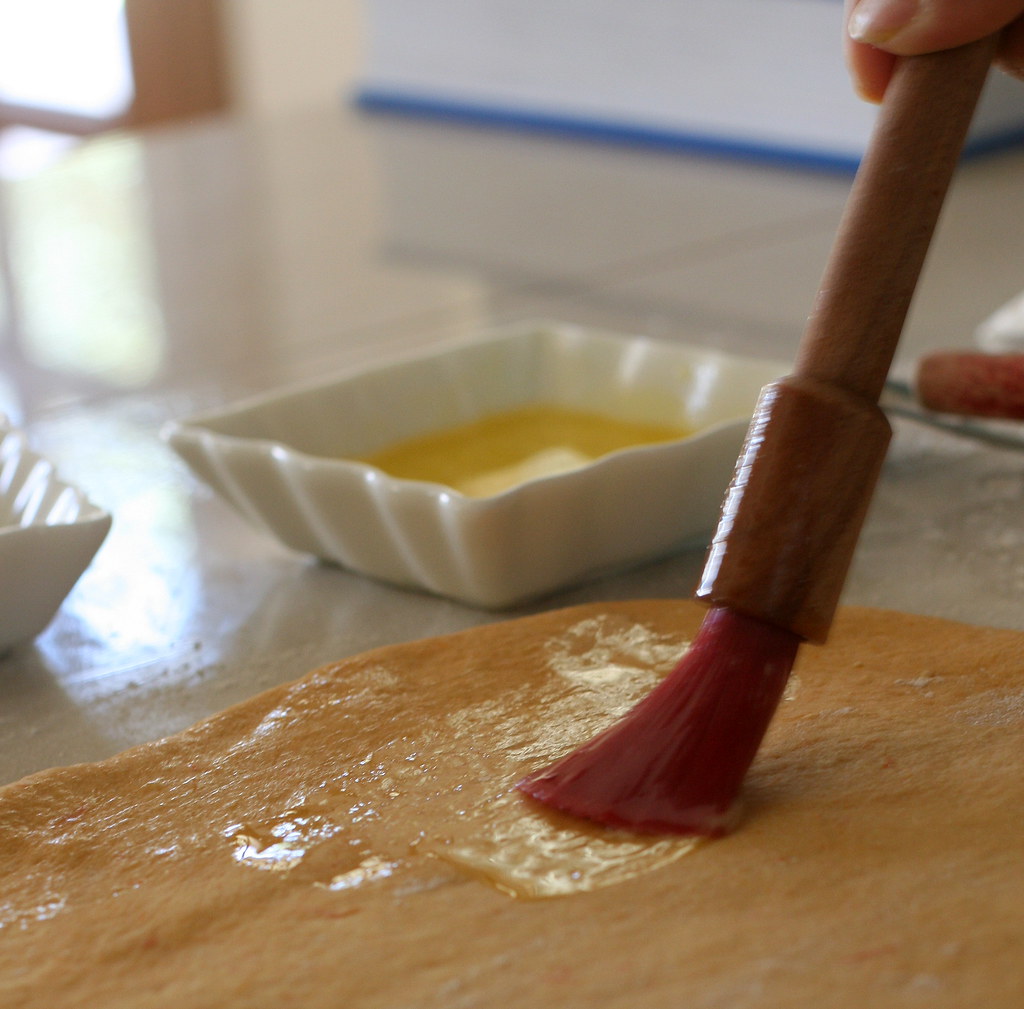
Brush with the melted butter.

Sprinkle with the brown sugar and as can be seen from the picture above, half of the dough was sprinkle with raisin while the other half, chocolate chips as requested by Bryan. 

After the nuts are sprinkled on, roll the dough up, Swiss roll style.
 
Cut the roll into 12 slices.

And place them in an oiled 23cm cookie pan. Cover and leave for another 30 minutes until they double in size again.
Meanwhile, preheat oven to 200c.
Bake the buns for 15 minutes or until they are golden.
Leave to cool on a rack.

Glaze:
2T sugar
1 T water 
Gently heat the sugar and water until sugar dissolve.

Brush the glaze over the warm buns. 

The pumpkin in the buns turned a beautiful golden yellow when baked. 


Best serve warm with black coffee without sugar (kopi 'o' kosong). 

Wednesday, June 25, 2008

Wild Yam with Pork


Another not so attractive dish to blog but tasty nonetheless.
Wild yam, I learned, is supposed to be very beneficial to women's health but I am not quite sure how, in what way and whether this is the same species. The site I researched on show a creeping vine with leaves that are very similar to the plant I grew. 
Anyway, let's not consider it medicinal because when I do that the food tend to loose their appeal and start to taste likewise. So, as long as it is edible and taste good ...
I cooked it with pork and dried shrimps. I am thinking this yam could also work in bubur cha cha...as taste and texture wise, very similar to the taro.

300 g wild yam, peeled and cubed
100 g pork, sliced thin
1 T dried shrimps, washed and drained
2 garlic cloves, chopped
1/4 t 5-spice powder (optional)
1 T soy sauce
salt and pepper

Marinade pork with salt, pepper and 5-spice powder, if use.
Heat 1 T oil in wok, add garlic and dried shrimps. Fry until fragrant, add pork and cook until color change. Add in yam, soy sauce, water to cover and mix well. Bring to boil and lower heat to simmer until yam is soft. Season with salt and pepper to taste.
 
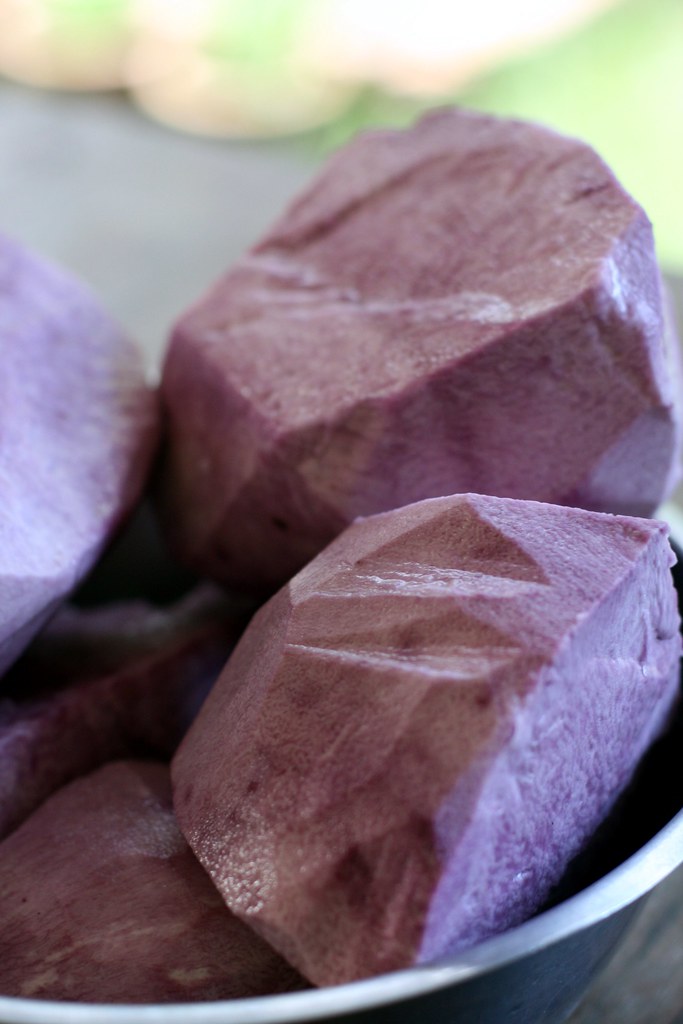
Dug out this wild yam from our back yard and it left behind a 2-feet crater. I think it must have weighed about 5 kg! I placed the garlic bulb next to it to give a perspective of the yam's size. 
Think I'll plant some more as they grow so easily, so much easier than the taro which I planted last year intending to make khew yuk for the lunar new year but harvest was so poor (miserly fist-size) I had to buy the yam from the market.

This is how it look like after peeling off the skin. Very purplish, crunchy and slimy.  

Jo 

Saturday, June 21, 2008

Braised Fish With Tomatoes


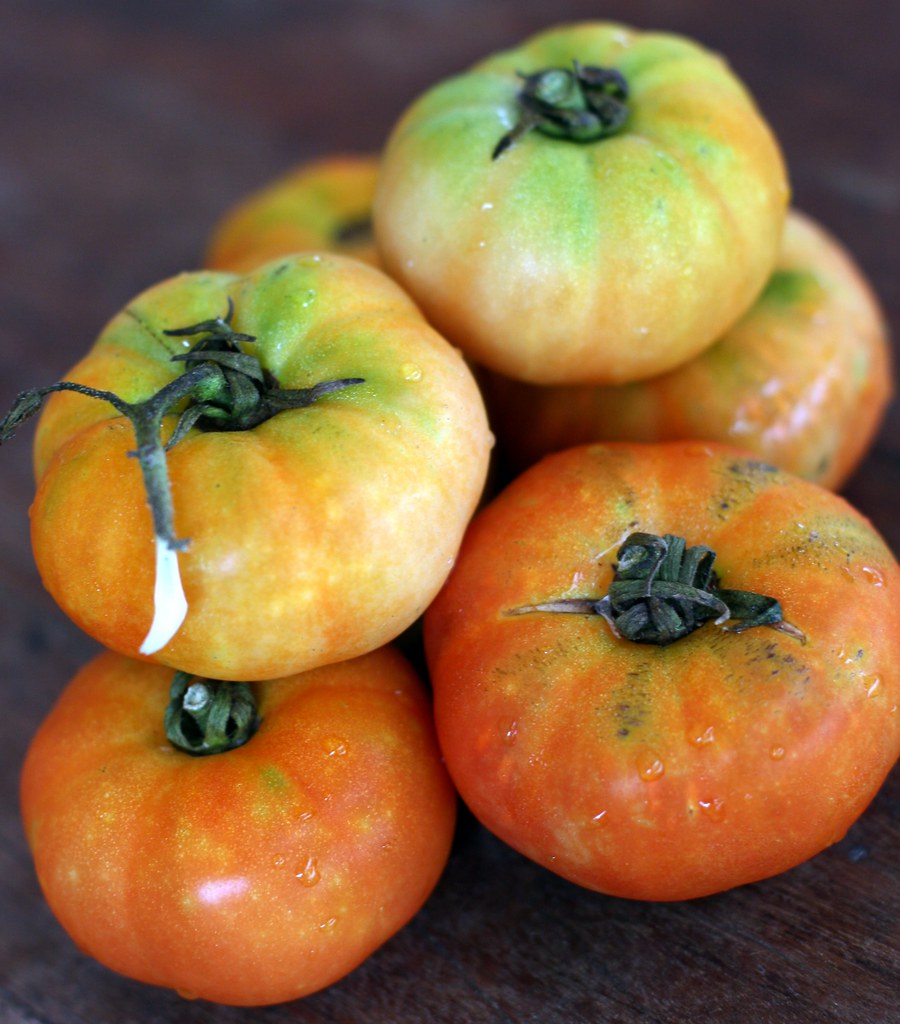
Grew up with these gorgeous heirloom tomatoes before the introduction of those genetically engineered strains. I just love the distinctly sweet yet acidic tangy flavor they impart.

They are usually smaller, flattened, have more pronounced ribbing (these ones shown above are so much rounder than usual, I hope they are not hybrid) and thinner flesh with more seeds than the normal plum or beefsteak tomatoes. They are not suitable for salad but are delicious when cooked with meat or fish.

Here I cooked the tomatoes with fish slices and tau cheong (fermented soy beans). For this gravy-loving family  this dish always calls for second helping of rice. 

Braised Fish With Tomatoes
~~~~~~~~~~~~~~~~~~~~
2 slices of fish
4 small tomatoes, sliced
2 cloves garlic, chopped
small thumb-size ginger, julienned
1 T tau cheong (sweet fermented soy bean)
salt and pepper
light soy sauce
sugar
1 T corn flour
1 red chili, seeded and julienned

Wipe dry fish and season with salt, pepper and coat thinly with corn flour.
Heat enough oil in wok to pan fry fish (wok must be very hot when oil is added and when just about to smoke, add fish slices (this would ensure the fish not sticking to the wok). 
Brown both sides well, take out and set aside.
Leave 1 T oil in the wok and add ginger and garlic, fry till fragrant.
Add tau cheong and chili (leave some for garnishing), fry for a minute or so and add the tomatoes.
Spread out the tomatoes slices at the base of wok and place the fish slices on top.
Pour about 1/2 cup of water in and bring to boil.
Lower heat and simmer for 10 - 15 minutes.
Turn the fish once during the simmering.
When the gravy thickens, season with sugar and light soy sauce.
Dish out and indulge with white steaming rice. Yum!

Wednesday, June 11, 2008

Stir-Fried Winter Melon With Dried Squid

Bought a hugh winter melon (almost the size of a water melon) from one of the stalls along the Lintas highway near the Kepayan Police HQ. Gave half the melon to Ben and he divulged me with his braised winter melon recipe which I would surely cook when I get another kampong chicken (uses rice wine and dates too, can't wait to try it out). 
Meanwhile, we just have to make do with what we have in the fridge. 
Normally I would used it to cook soup but this time I had to do something different as another soup was already brewing at the stove and there was no veggie dish. 
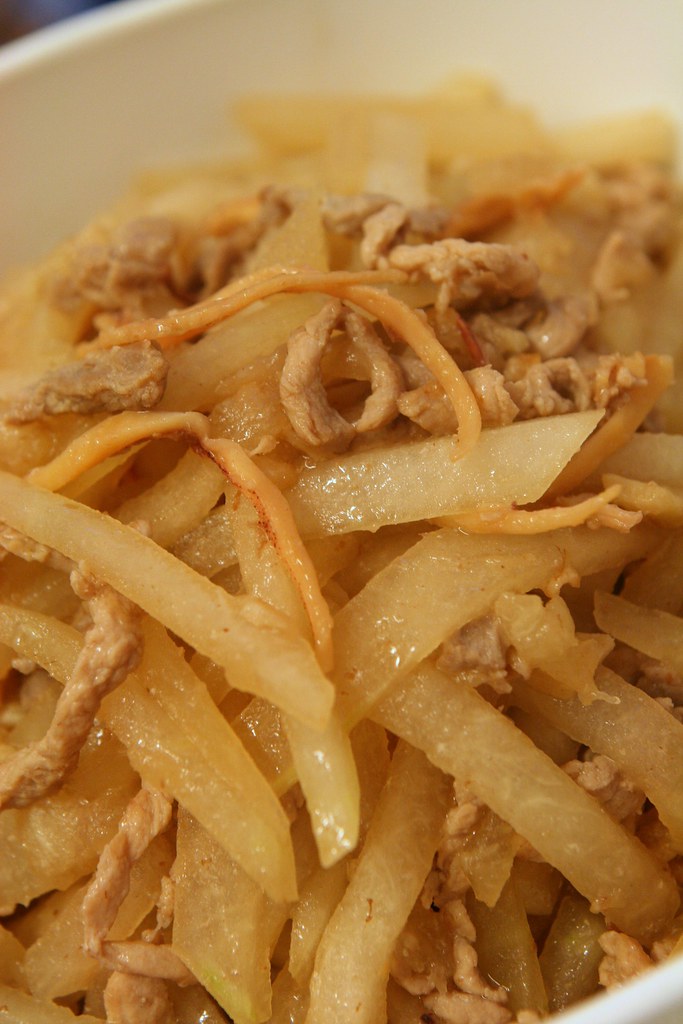
I borrowed this idea from the jicama (yam bean or sengkuang) dish that is usually cooked during festive season with belly pork and thin dried squid strips (Hainanese dish? Not quite sure).  It turned out so well and well received even with Keshia who is a real fusspot where veggies are concerned.  I wasn't very keen to blog this as the picture didn't turn out too well but K and Leanne insisted that I should. 
As you can see the picture is not very attractive as there isn't much color contrast but that is deceiving as far as taste is concerned. The sweetness and the aroma of the winter melon infused with the squid strips is just simply delicious.  

500g winter melon, skinned and cut into strips
1 small dried squid, washed and cut* into very thin strips (can buy it finely cut, in Penang, ie)
100g chicken meat or pork, cut into thin strips
4 cloves garlic, chopped
2 T soy sauce  
1 t corn flour
salt and ground white pepper 

Marinate meat with salt, pepper and corn flour.
Heat 1-2 tablespoons oil in wok, add garlic and fry until fragrant. 
Add meat and dried squid, keep stirring until fragrant and the meat browned. 
Put in winter melon, mix well, add 1/2 cup water and soy sauce, bring to boil and cover. 
Cook for 3 - 5 minutes or until winter melon is cooked through but still with a bit of crunch. Season to taste with salt and pepper.
Dish out and serve hot with rice.

Note: *I find it easier to cut the dried squid before washing and with scissors instead of a knife.
When buying winter melon, better to get one that has thicker skin and thick white powdery surface (which indicate a mature fruit) which is sweeter and more aromatic. 

Sunday, May 11, 2008

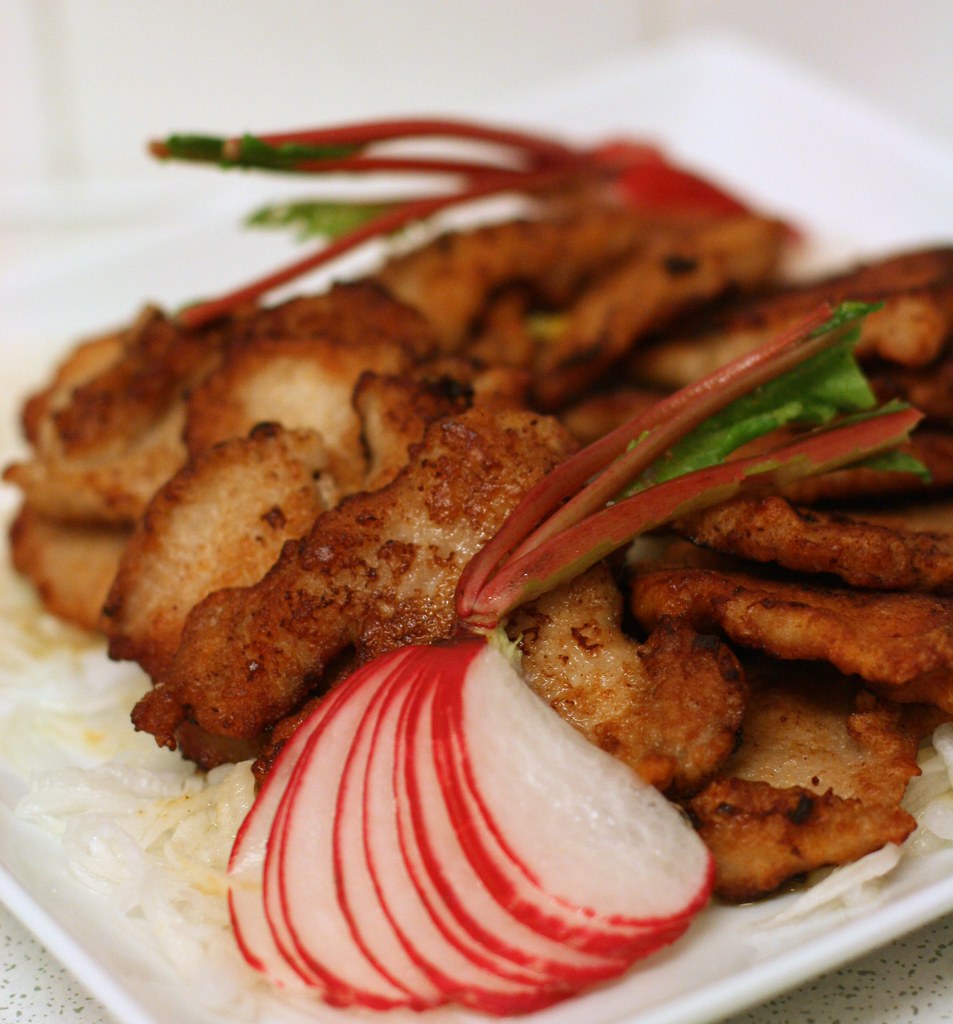
Simple Pork Chop With Radish Pickle


It is Mother's day and half the family is not home :=(. It had been a hectic week especially during the week end but with all the heartwarming phone calls and sms from near and afar the day turned out so well.
The four of us had a very simple meal at home as this is one of those days that we would not risk venturing out to restaurants (and wait for hours with hundreds of patrons for food cooked under stress). So the best thing would be mum's cooking on mother's day, right?
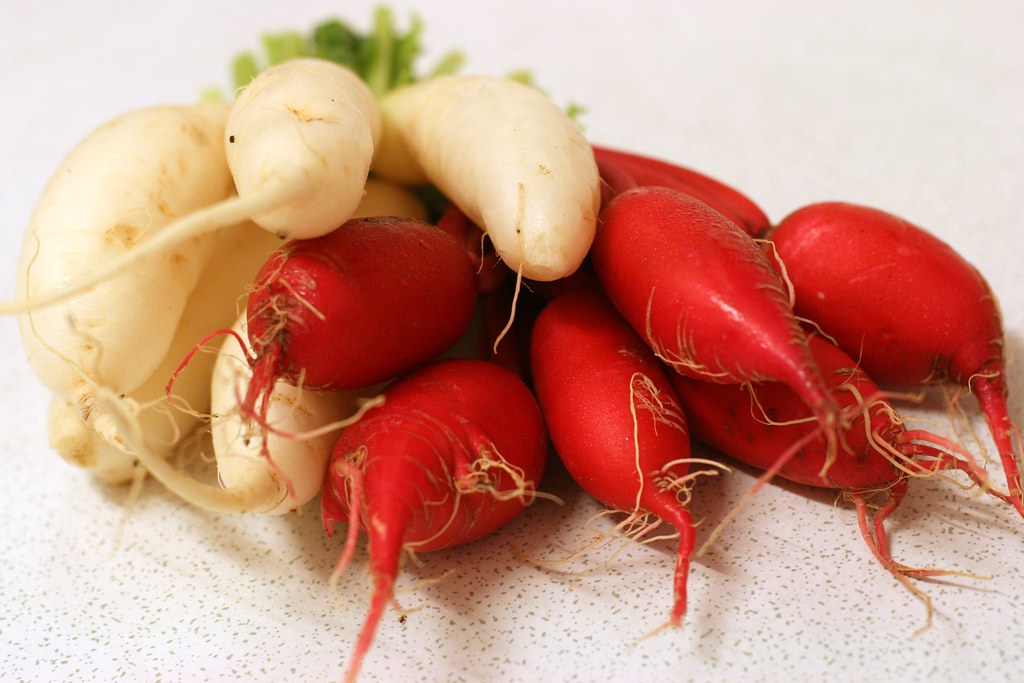
Wanted something to go with these beautiful red and white radish... 

Bought these in one of those stalls on the way from Keningau to KK few days ago
 
These stalls are situated along the road from KK to Tambunan just before the highest point of the journey. 

The weather here is cool and we love to stop by just for a breath of the fresh and crisp air.    

With the farm just a stone throw away from the stalls, the produces are as fresh as you can get. 

The radish were so crisp and fresh that I thought I shouldn't do anything to them except to serve them fresh but knowing the children I had to pickle the white ones. 
Okay, enough said about the radish and let me get to this simple pork chops recipe.

300g pork chops, sliced about 2/3 cm and pound with back of cleaver
1/2 T fish sauce
1/2 t white pepper powder
1 T corn flour
2 T oil

Marinate pork chops with fish sauce and pepper for at least 30 minutes (overnight in the fridge would be even better but my diners weren't prepare to wait that long).
Remove meat from fridge and mix in the corn flour.
Pan fry the chops in hot oil until just cooked (about 2-3 minutes on each side) and golden brown. Better option to pan-fry than deep-fry as less oil is used and the chops get crisp outside but still moist inside. Deep-fry tend to dry out the chop easily as they are quite thin.
Easy peasy.    
Serve on top of white radish pickle and garnish with fresh red radish. Another 'yin' with 'yang'.

The chops would have gone very well with white rice but felt like having something different so we had soba instead.

Happy mother's day to every mother in the world!

Jo

Tuesday, April 29, 2008

Pork And Bitter Gourd

Last week I used a bitter gourd that was almost a foot long to cook this dish that Terri posted a while back. It was one of the first batch of fruits from a new plant, the lady who sold the veg told me and that was supposed to be good (does it make any difference? It sure did and I went back looking for more).
With this hugh bitter gourd, I used about 500g pork ribs. 2 heaped tablespoonful of sweet soybean paste and I didn't need to season with soy sauce or salt. I then added 2 big red chillies not so much for garnishing but for the taste which go so well with the bean paste.
I love everything about this dish, especially the cooking part, it is sooo easy. Even better is I can get it cooked earlier in the day and just warm it up to serve for dinner. It actually taste better that way too. Serve with rice and that, to me (lazy me) make a complete meal. Another one-pot meal! 

Love it so much that I cooked it again today when I managed to get another bitter gourd from this lady but this time I used some left over siew yoke (roast pork) instead of pork ribs. Much faster to cook (as the meat was ready-cooked) and so delicious too.

Jo

Wednesday, April 23, 2008

Pumpkin with Seaweed

With the grilled fish last night we also had this pumpkin dish which is a breeze to cook.
I used about 200g of pumpkin, left the skin on and just cut into one inch cubes.
I also used hijiki seaweed but as there is some controversial reports about this seaweed contain minute amount of inorganic arsenic, you can use a piece of kombu (kelp) or wakame just to get that taste of the sea.
Mix 2 T of soy sauce, 1 T mirin and 1 T of water into a heavy based pan. Heat the sauce and add the pumpkin.
Rinse and soak the seaweed before adding together with the pumpkin.
When boiling, lower heat and simmer until pumpkin soften.
Dish out and serve with a sprinkling of toasted sesame seeds.

This was how we had a Japanese meal without having to break the bank account nor the back cooking it...grilled fish, pumpkin and rice with these seasoned nori pieces. Plus lots of toasted sesame seeds sprinkled on the rice, shoyu for dipping and miso soup.

Get some pumpkin, fish and rice together. Lay the nori over and press down on both ends of the nori with the chopstick.

Press down both ends of the nori with the chopstick and use the chopstick to encircle the food with the nori.

Lift up the bundle of yumz.

And now, ready to pop into the mouth.
Of course wearing yukata and kneeling down for dinner too could help with the Japanese feel...;D

Jo